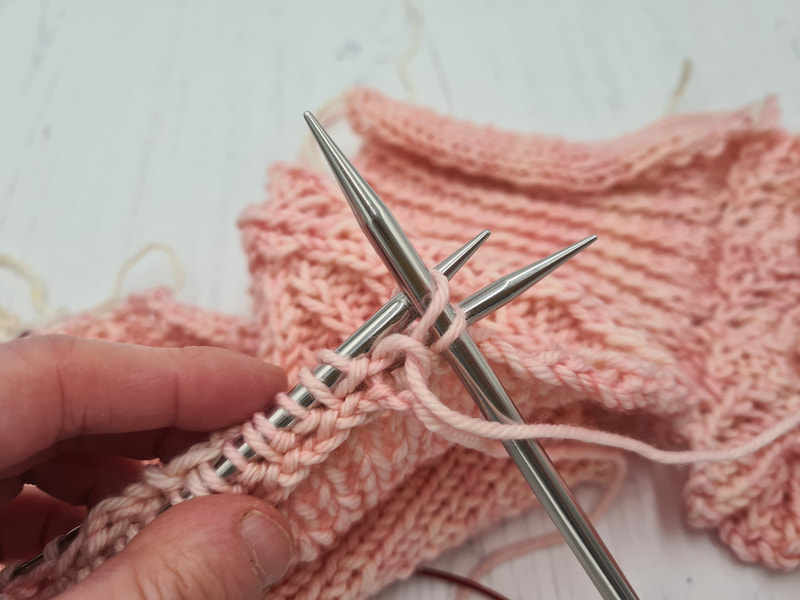
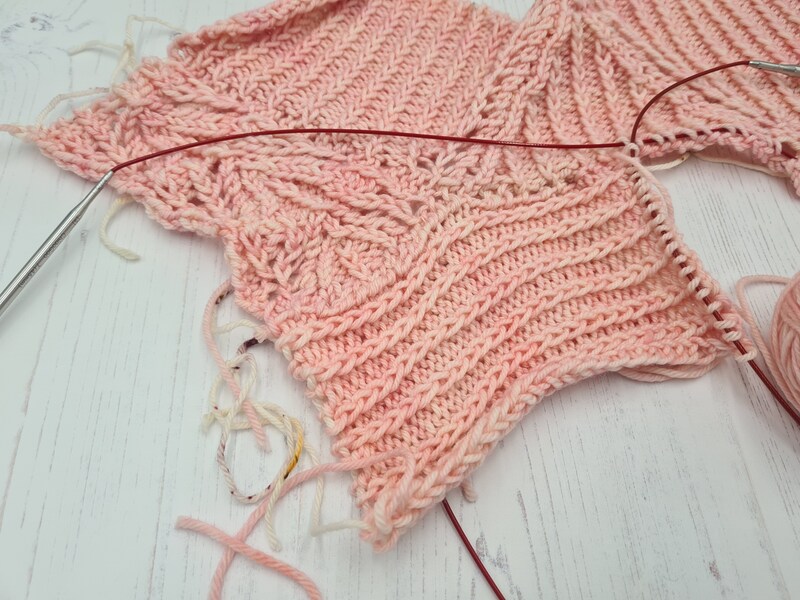
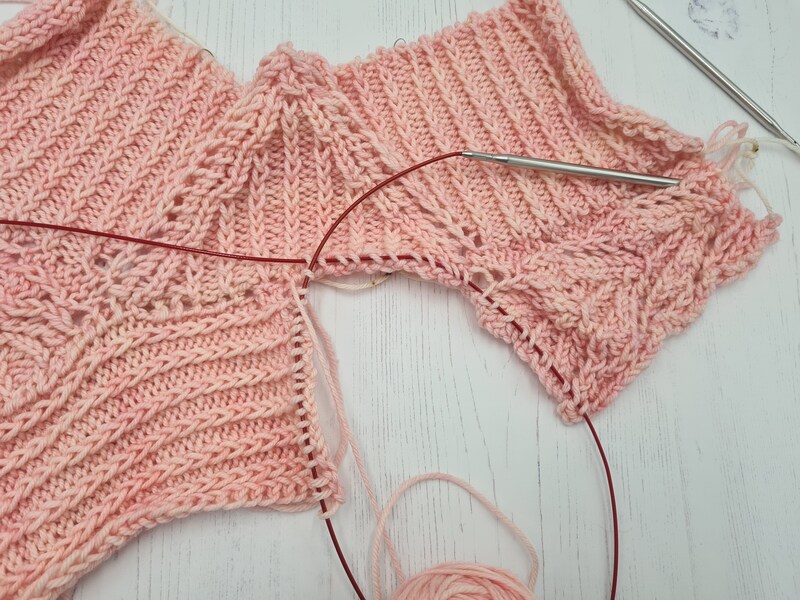
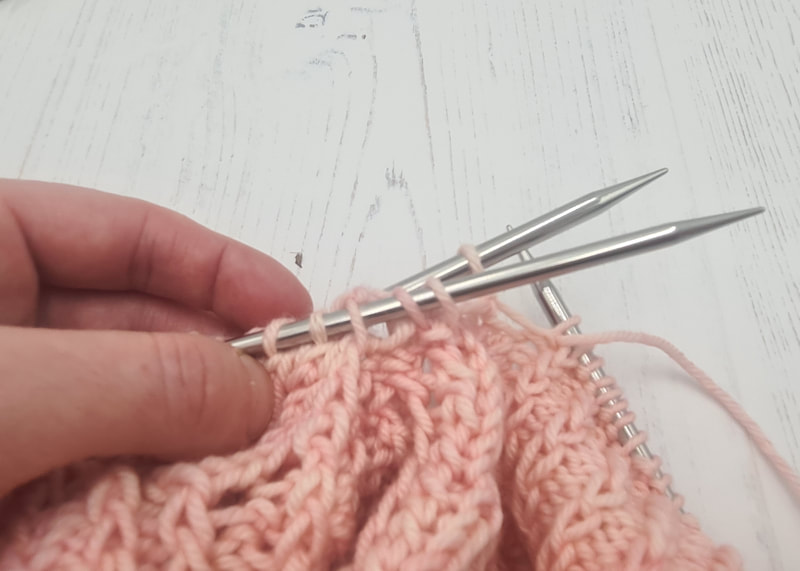
These stitches have a beautiful braided look to them that’s just stunning. I’ve got a couple of patterns that use these stitches due for release in the coming months so I thought I’d do a quick tutorial showing how they’re knitted. The one over one stitch is used in my Ae Fond Kiss shawl. It’s worked with a row of elongated stitches before and after to really accentuate it. My 1, 2, 3 Cowl uses 1 over 1, 2 over 2 and 3 over 3 stitches in sequence. All of these stitches need a set up row. We need a little extra wiggle room in order to be able to lift the stitches up and over each other, and for this we need to work extra yarn overs in the set up row, and then drop them on the next row. Depending on the pattern, this might be a wrong-side or a right-side row. Set up Row on the Right Side: work k1, *yo2, k1* to the end of row. Yo2 just means bring the yarn round the needle twice, instead of once in a normal yarnover. Set up Row on the Wrong Side: work p1, *yo2, p1* to end of row. Just the same as for the right side, but just working purl instead of knit. Now it’s time to work the actual 1 over 1, 2 over 2, or 3 over 3 stitches. First, whether you’re on the rights side or wrong side, you drop yarnovers for 2, 4 or 6 stitches. For 1 over 1, you (slip 1, drop two yarnovers) twice. For 2 over 2, you (slip 1, drop two yarnovers) four times, and for 3 over 3, it’s six times. You then slip these 2, 4 or 6 stitches back to the left needle. You should have 2, 4 or 6 really elongated stitches. We’ll give instructions for the next step according to which stitch you’re working. You knit if you’re on the right side and purl if you’re on the wrong side. One over one: knit/purl into the second stitch on the needle, lift it up and over the first stitch, and then drop it off the left needle. Then knit/purl the first stitch. Two over two: from right to left, imagine the stitches are numbered 1, 2, 3, 4. You’re going to work stitches 3 and 4 first, then 1 and 2. So you knit/purl into stitch 3 on the needle, lift it up and over the first two stitches, and then drop it off the left needle. Then do the same for stitch 4. Then knit/purl stitch 1, then stitch 2 as normal. Three over three: it’s the same idea, just with six stitches. From right to left, imagine the stitches are numbered 1, 2, 3, 4, 5, 6. You’re going to work stitches 4, 5 and 6 first, then ,1 2 and 3. So you knit/purl into stitch 4 on the needle, lift it up and over the first three stitches, and then drop it off the left needle. Then do the same for stitch 5, then stitch 6. Then knit/purl stitch 1, 2, then 3 as normal. Here's the video showing all three stitches where the 1 over 1’s etc are purled. This is the video you need if you’re knitting the Ae Fond Kiss Shawl – and you can ignore the instructions for 2 over 2 and 3 over 3. Here’s the video showing all three stitches where the 1 over 1’s etc are knitted. This is the video you need if you’re knitting the 1, 2, 3 Cowl.
0 Comments
Nupps are lovely little clusters of stitch used traditionally in Estonian Lace knitting, and Heart Nupps take this idea one step further. We knit lots of stitches into three stitches, making a “clump” of stitches, and then on the next row we purl them together in two separate groups with a single purl stitch in between, making a heart shape. Here’s our step by step guide, together with some hints for making this tricky stitch a little easier! Step 1: before you even start knitting, think about what yarn you’re going to use. A smooth, fine, light coloured yarn will be the easiest, although a darker colour is still manageable. In this version, fifteen stitches are knitted from three, and the thicker your yarn, the trickier this is to achieve. If you’re knitting in a 4ply yarn, you could work thirteen stitches from three and then on the wrong side work p6tog, p1, p6tog. If you’re using an even thicker yarn you might need to work even fewer stitches, but the fewer stitches you work, the less “heart like” it’ll look. Step 2: gather some materials to help make things easier. For me, this was stitch markers and a thin, extra pointy, sock knitting dpn. Placing a thin stitch marker 7 stitches into the 15 makes it easier to work that p7tog on the WS. And those p7togs are fiddly! Using a thinner dpn and then slipping that stitch onto your needle makes things a little easier. Step 3: the initial right-side row. To make the heart nupp, we knit 3 stitches together (k3tog), but don’t drop it off the left needle. We then work (yo, k3tog) into that same three stitches seven more times. Each yo and each k3tog makes a new stitch, so altogether that gives us fifteen stitches from three. I made sure to pull the initial k3tog through really loosely, and then pull though every subsequent (yo, k3tog) through as far as I could. If you’re using extra pointy needles, make sure you push the stitches up to the wider part of the needle, rather than just working the stitches at the very tips. I would also recommend placing a very thin stitch marker after 7 stitches (i.e. after working k3tog, once, then (yo, k3tog) three times). I used super basic stitch markers that are just a little metal ring, rather than the chunky plastic clip on ones. Step 4: the wrong side row. This is where things get fiddly! You need to take that 15 stitches you just made and work p7tog, p1, p7tog to get it back down to three stitches. If you placed a marker after 7 stitches in the previous round, when you’re working back on the WS, there’ll be eight stitches, then the marker, then seven more stitches. So make sure you leave one stitch before the marker on the needle to work that p1. You might find it easier using a thinner dpn if you have one lying around! Here's a video which shows me knitting this stitch. Apologies because I have terribly shaky hands, I show how to work three heart nupps on the right side, but only one on the wrong side – I thought it would be best to quit while I was ahead! If you’re interested in patterns using heart nupps, my Loveheart Crop is available at the moment and my Ae Fond Kiss Shawl pattern is being released in early April.
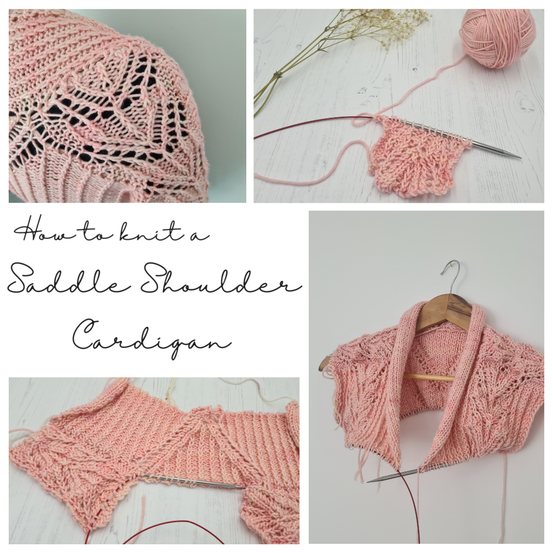
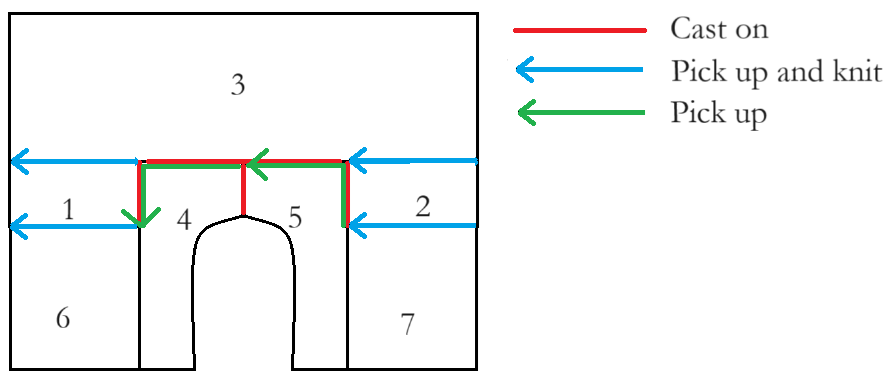
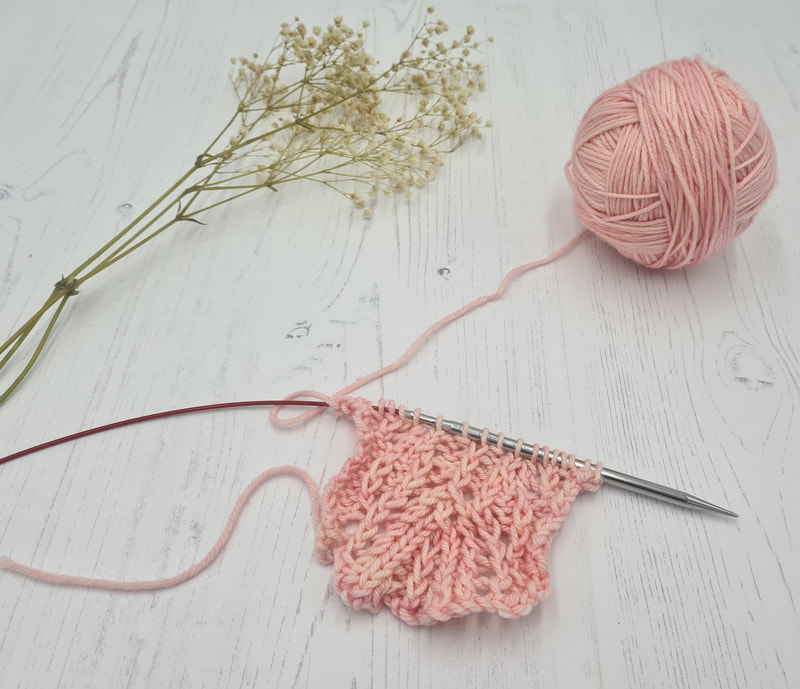
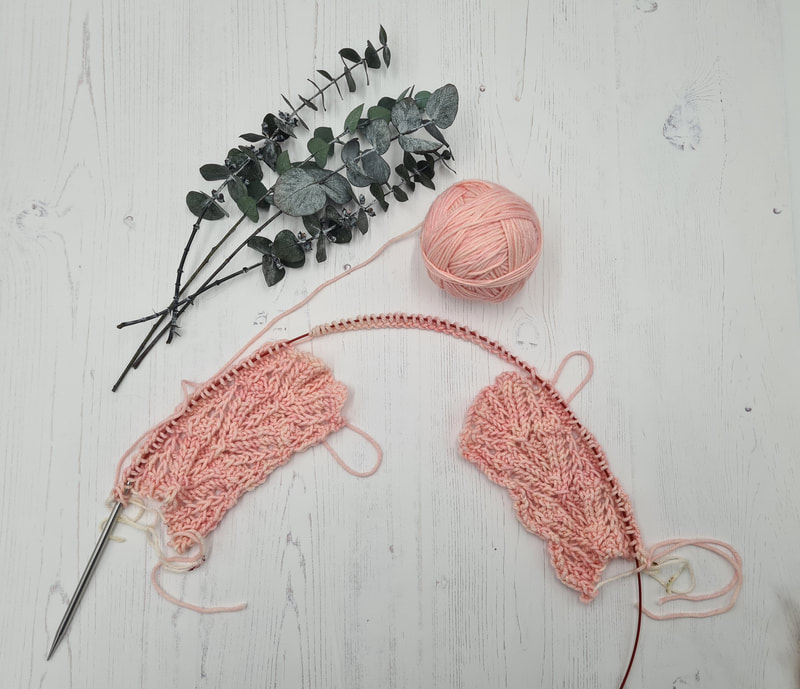
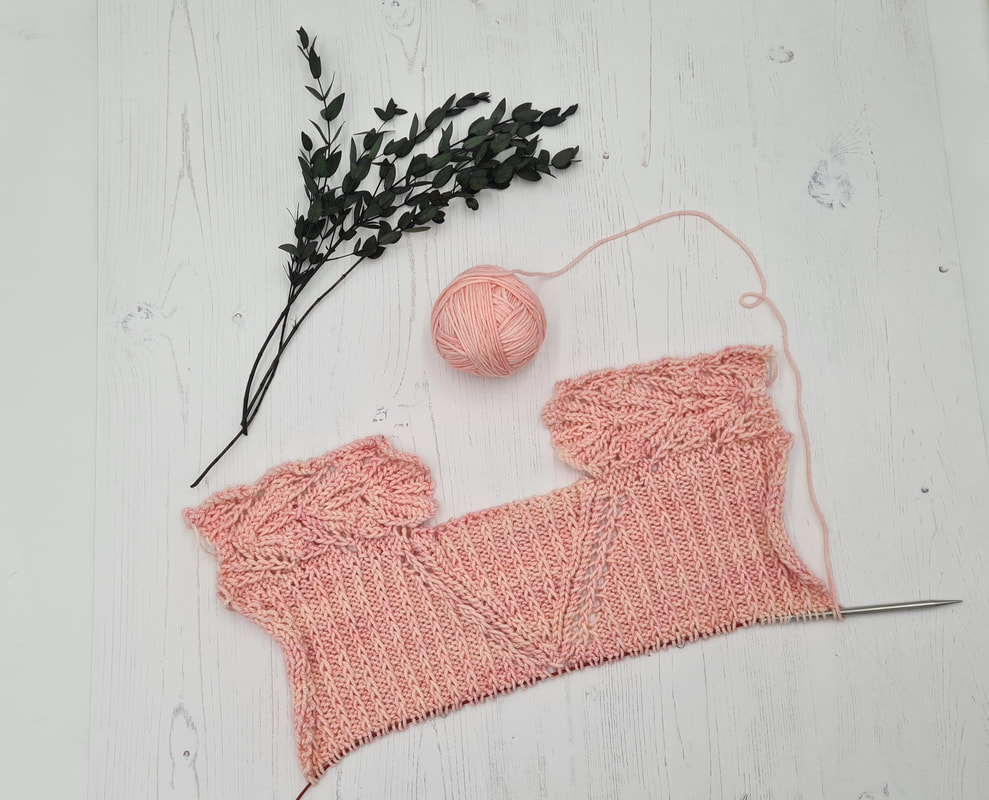
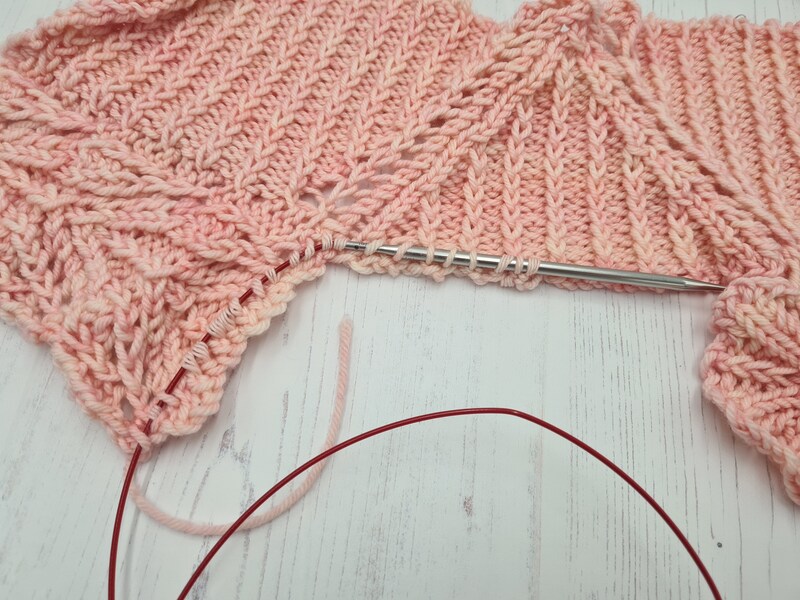
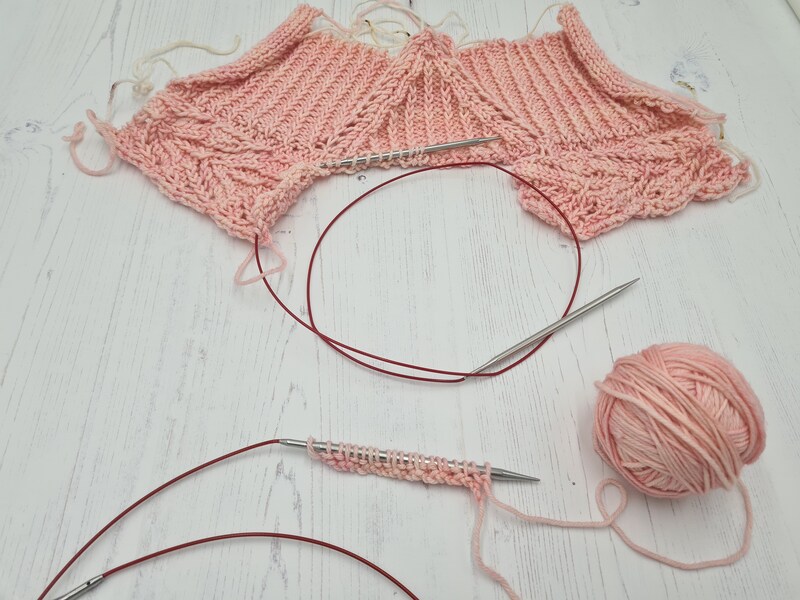
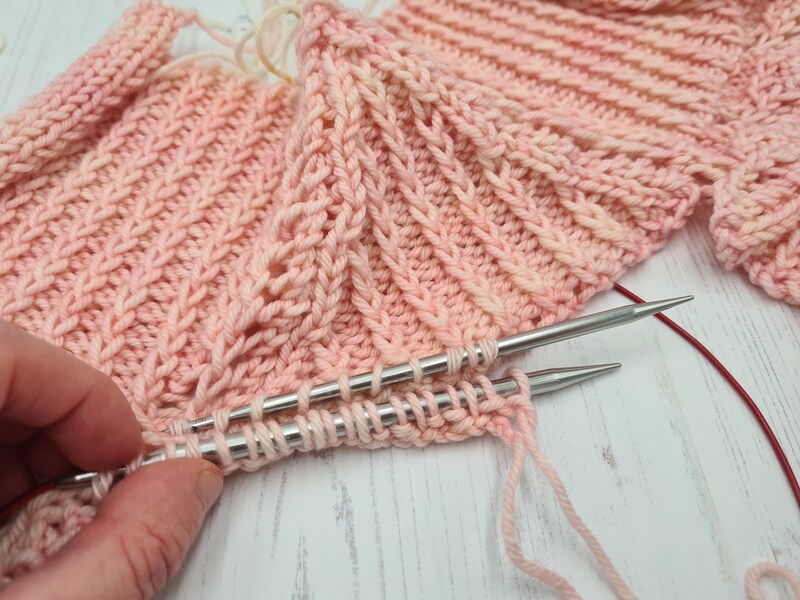
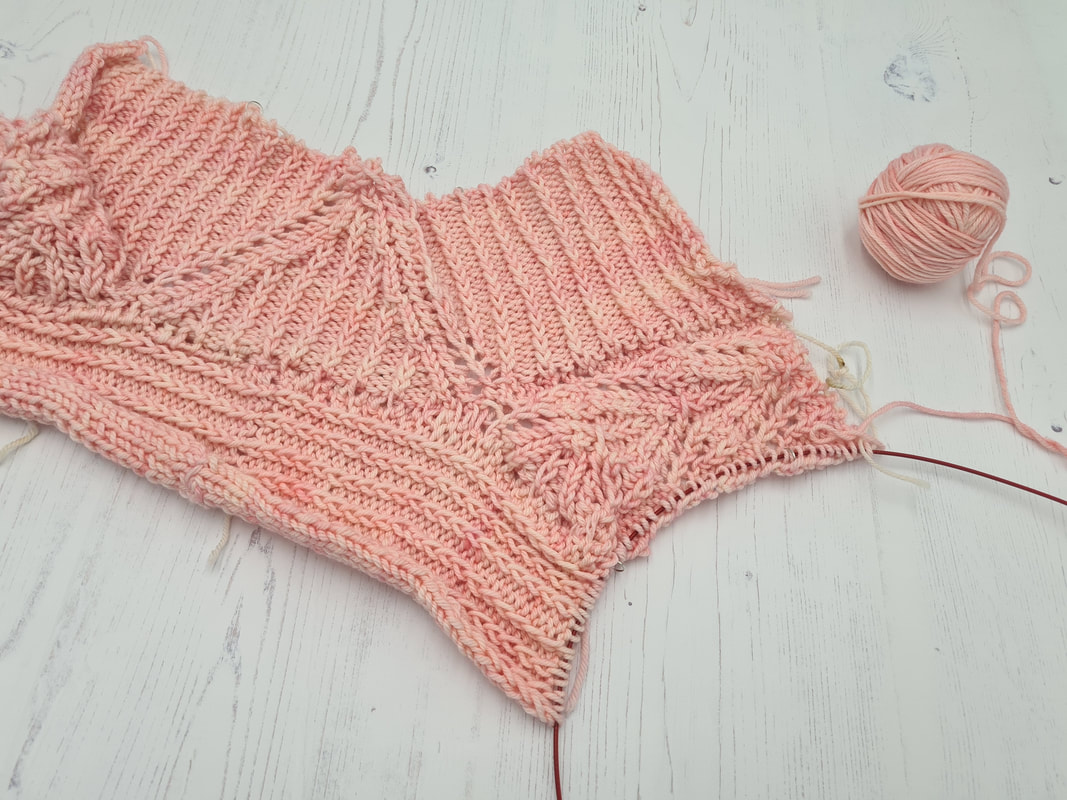
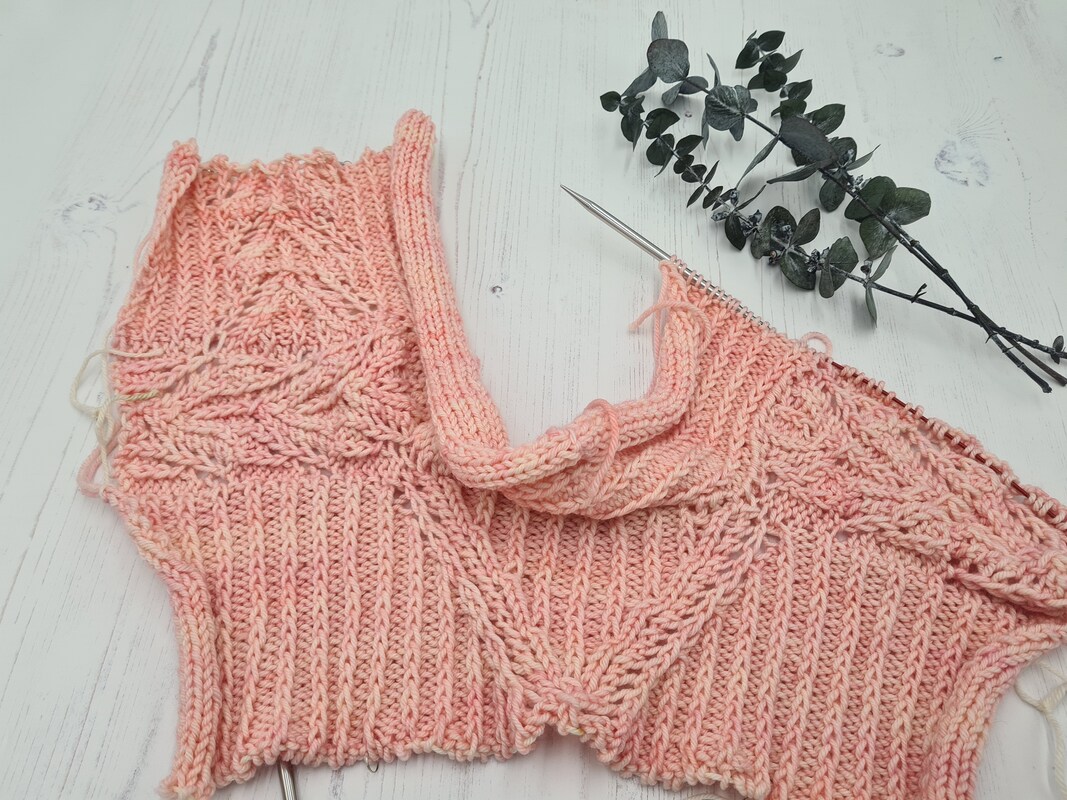
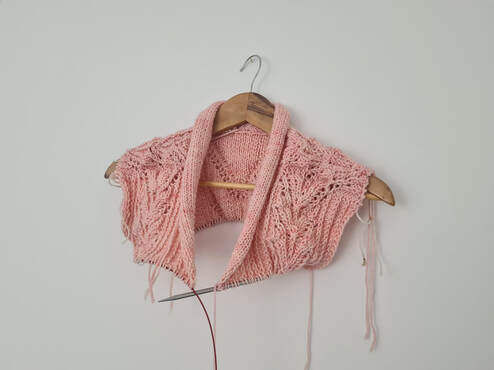
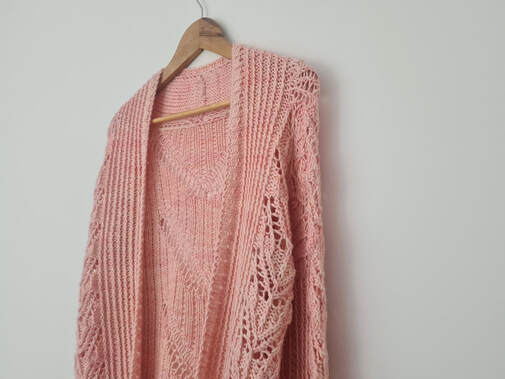
For my upcoming pattern, Goldenacre Cardigan, I really wanted the lace pattern to run all the way from the neckline down to the cuffs of the sleeves. To my mind, the best way to do this is using a Saddle Shoulder construction. In this post, I'll give details on how to knit a top down, saddle shoulder cardigan. Here's a diagram showing how the upper body is put together, we go through each part step by step below. In my Goldenacre Cardigan pattern, obviously there are all the exact stitch counts and patterns, but here we just give an overview. 1 and 2: work strips of lace (or whatever pattern you're using!) for the left and right saddle shoulders. These will go along the shoulder from the neckline to the top of the sleeve. I made mine quite long for a drop shoulder. Left: working a saddle shoulder. Right: Pick up and knit stitches from saddle shoulders with a cast on for back neck in between. 3. Lay out the saddle shoulders as shown in the above right picture. The cast on edges are at the centre and the live stitches are at the outer edges. Pick up and knit stitches from right to left along the top edges as shown, and cast on stitches for back neck in between. Work these stitches down the back to the underarm (shown below) and place on waste yarn/spare circular needle/stitch holder. In Goldenacre Cardigan, we add short row shaping at the shoulders for an improved fit. Upper back with saddle shoulders attached 4. In Goldenacre cardigan, there is an attached shawl collar. If you don't want a shawl collar attached, go ahead and skip to Step 6. Maybe you could pick up stitches round the whole front to keep things neat instead. Work the attached shawl collar from centre of back neck to the front edge of the saddle shoulders. We pick up stitches from the back and saddle shoulder with a spare needle (below top left). I picked them up from a row back to avoid a big gap. Then cast on stitches for the shawl collar (below top right), then work the shawl collar stitches, knitting edge stitches together with the picked up stitches on every second row (below bottom pictures). Top Left: pick up stitches from right saddle shoulder and right half of upper back. Top right: cast on stitches for shawl collar. Bottom left: hold shawl collar sts and pick up stitches together. Bottom right: purl shawl collar end stitch together with next picked up stitch. 5. Work the other half of the shawl collar. Pick up stitches from the saddle shoulder and along the back neck to meet the other half of the shawl collar (below left and centre). Rather than casting on, we pick up and knit stitches from the existing shawl collar cast on (below left). We then work the shawl collar stitches down towards to front edge of the saddle shoulder, again knitting edge stitches together with picked up stitches every second row (below right). Don't break the working yarn this time. Left: pick up and knit stitches from shawl collar cast on. Centre: Pick up stitches from left saddle shoulder and left half of back neck cast on. Right: purl shawl collar end stitch together with next picked up stitch. 6. Left Front: Work across shawl collar stitches, then pick up and knit stitches from the shawl collar for the left front. Stitches are worked down to underarm. Work across shawl front stitches and pick up and knit stitches from saddle shoulder 7. Right Front. Pick up and knit stitches from right saddle shoulder the work live shawl front stitches. Work all stitches down to underarm to match left front. Finally, we join right front, back and left front stitches before working down to the hem. Pick up and knit stitches from right saddle shoulder and work across shawl front stitches. And that's it! It ends up looking something like this: And here's a wee sneak peek at how the finished cardigan looks - it should be out for test knitting soon. Follow @littletheorem on instagram or twitter for the test call!
|
Archives
March 2025
Categories
All
|